You can set a default image to be used on every new course you create. You can also update the cover image of individual courses from the course Settings screen.
To set a default cover image, go to the Site and Branding page in your Settings. You can learn more about your Site and Branding options here.
To update the cover image on an individual course, go to your course editor and into the Settings,
Click on the image or the Change Image button and it will pop up with a box where you can delete the current image and upload a new one.
Upload or drag the image that you want to use into the Drag and Drop box. Make sure you click on the image to bring up the cropping tool. When you can see the cropping tool, drag the cursor to crop/ select the part of the image that you want to use. 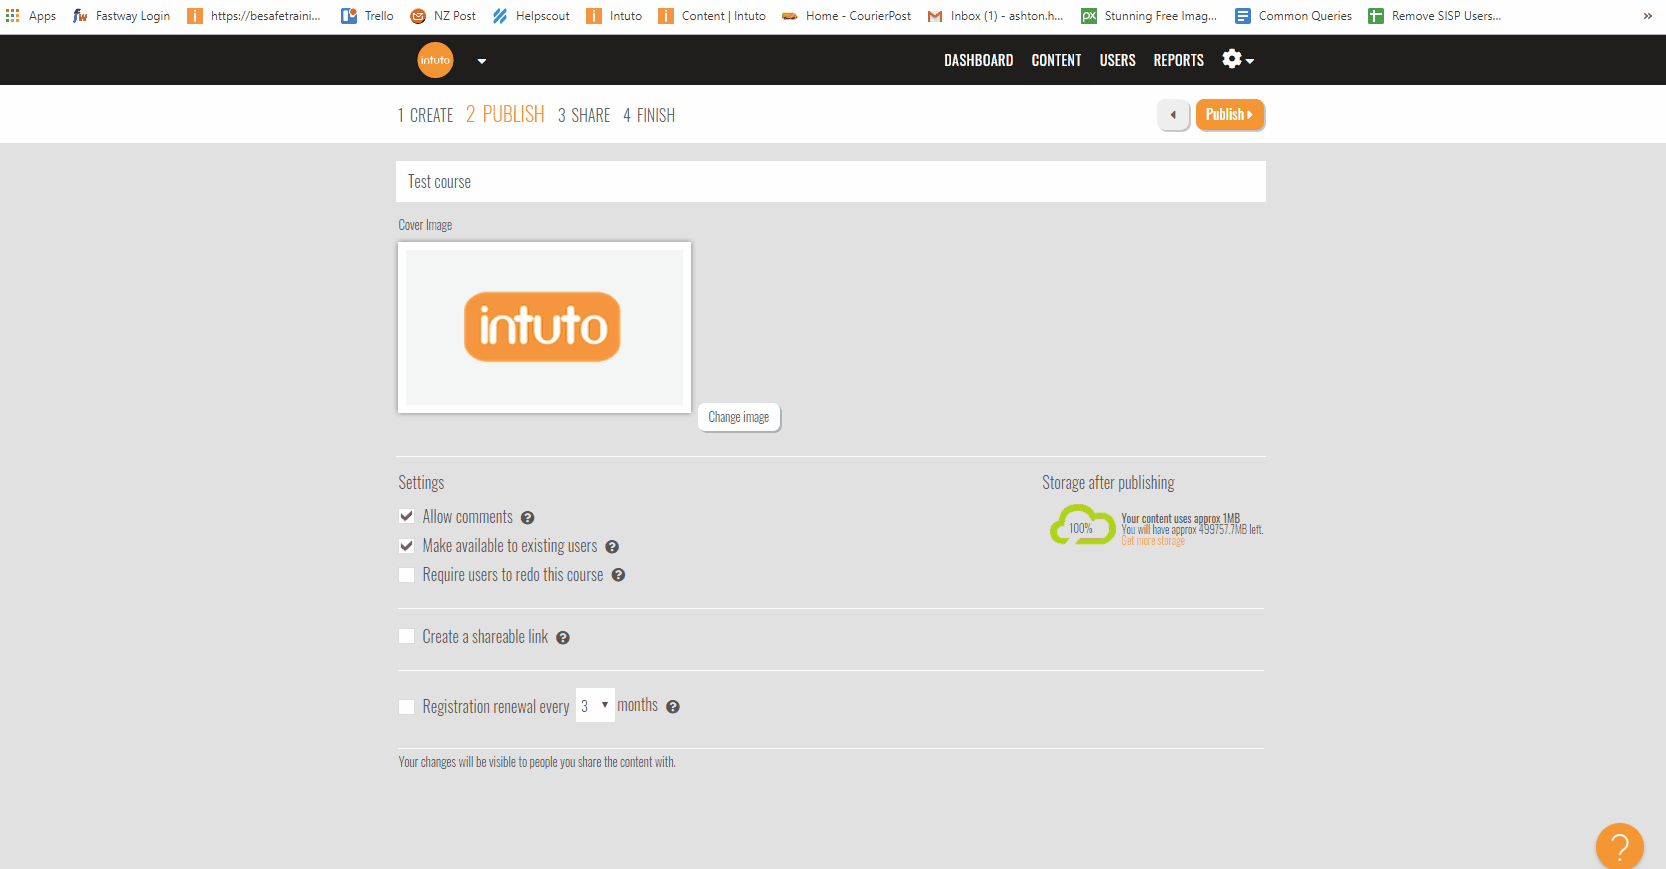
The size of the cover image space within Intuto is 200 x 112. To get the full image as a cover photo you will need to resize the image to this. Learn how to resize images here.
Sometimes it can be a bit difficult to get the image right. If you get stuck or have any difficulty, just send the image you want to be loaded, along with the site and course name to support@intuto.com.